become a contributor


POLL
Which song is the ~official~ bop of this spring?

LOVE THIS
We found the hair routine to match your summer ~vibe~ 🌈

Thanks to Sun In and your new eye-catching aesthetic, summer is for making a serious splash (with your look, ofc). Click HERE to find the starter kit(s) for your boldest break yet... <link to advertorial>
FREE STUFF
SUMMER VACAY JUST GOT WEIRD
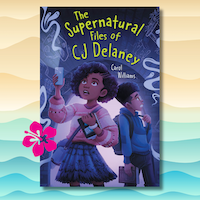
When an old skatepark becomes the scene of a supernatural occurrence, kid reporter CJ Delaney can’t believe her luck. Determined to get the scoop first, CJ sets out to uncover who (or what) is behind the mayhem. Enter to win here!