become a contributor


POLL
The best Saturdays start with a trip to the bakery. The superior pastry & drink combo is:

LOVE THIS
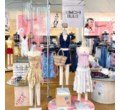
Do *you* have what it takes
to be a model?
.png)
Take our quiz to see if you're ready to strut your stuff. Then, enter our contest with Barbizon Model to make those dreams come true!
FREE STUFF
Win! Voloom volumizing iron
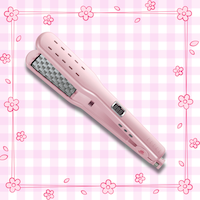
One gorgeous gal will win a volumizing iron from Voloom (worth $140)! From silky straight strands to luscious curls, this tool takes your tresses to the next level—literally. The unique checkerboard plates boost hair at the root, so you can get that better-than-a-blowout bounce. Enter to win here!