become a contributor


STYLE
Beauty
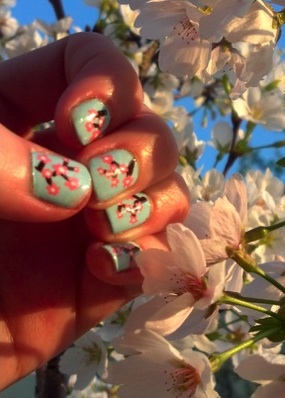
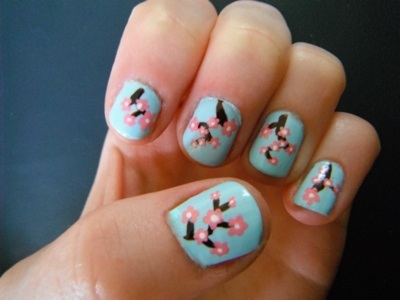
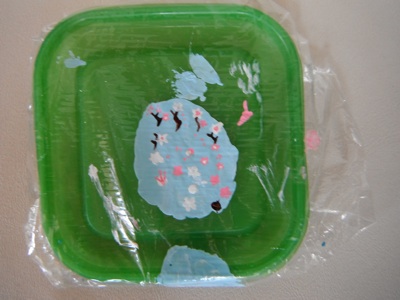
How To: Grow a bloomin' beautiful mani
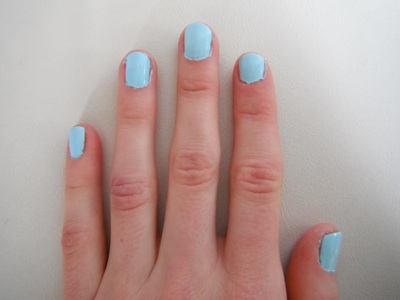
1. After painting a base coat, paint your background color. Let dry.
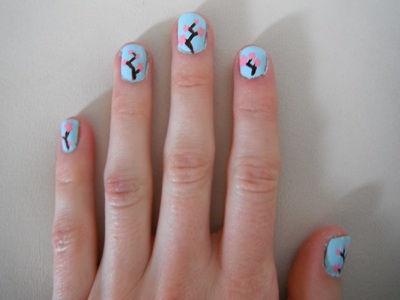
2. Using a nail art pen, thin paintbrush or toothpick, paint a jagged line for the branch. Let dry.

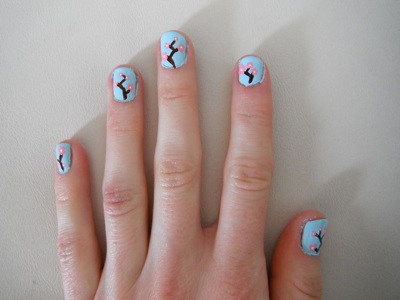
3. Paint small flowers at the end of branches. I used a nail art pen for the blossoms, but you can use a thin paintbrush or end of a bobby pin.
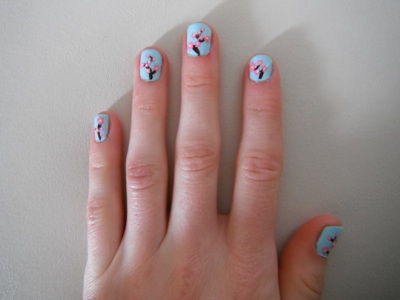
5. Paint a clear top coat. Voilà!


POLL
There's a maaajor thunderstorm outside, but you can be found:

LOVE THIS
🌸 QUIZ! Plan your perfect spring picnic 🌸

The flowers? Blooming. Your al fresco hangout? Totally ready to get plotted (inspired by our current read, The Second Favorite Daughter's Club: Sister Sabotage). Click HERE to take the quiz!
FREE STUFF
MARRIAGE, MATCHMAKING AND MIX-UPS
Imagine having your secret love letters discovered by the wrong person—talk about a swoon-worthy slip-up! Pride and Prejudice fans will heart this will-they-won’t-they romance set in the lovely London countryside. Enter to win here!