become a contributor


MAKE IT CUTE
Parties
DIY decorations for the most tropical bash ever
 VIEW THUMBNAILS


-
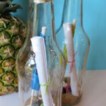
 Invitation in a bottle
What you’ll need:
- Small glass bottles
- Drink umbrellas
- Cork
- Seashells
- Sand
- Other small, beach-themed trinkets
- Invitation
What you’ll do:
1. Create your invitation on the computer, print it out, and roll it up into a scroll.
2. Fill your small glass bottles with sand, a colorful drink umbrella, shells, and other small beachy trinkets like buttons shaped like sunglasses.
3. Place your invitation in the bottle and plug it with a cork.
4. Drop your invites in your friend’s mailboxes and you’ll be one step closer to the big day.
Photo & DIY Courtesy of: thriftyandthriving.com
-
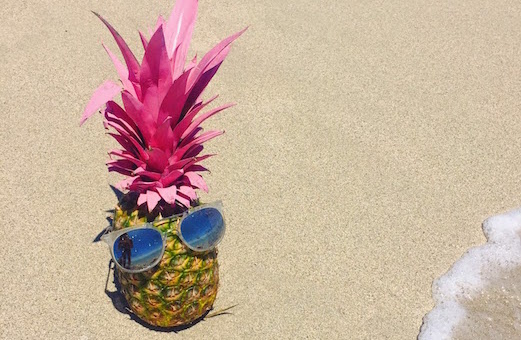
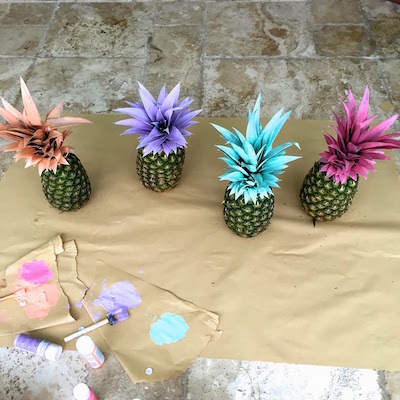
 Painted pineapple center piece
What you’ll need:
- Pineapples
- Acrylic paints
- Foam brushes
- Paint brushes
- Tarp or kraft paper
- Sunglasses (optional)
What you’ll do:
1. Use the foam brush to get a good base of paint on the stems.
2. Take the smaller brushes to fill in the smaller, harder to reach areas of the stems.
3. Leave them to dry overnight.
4. Once dry, add sunglasses to add some character to your pineapples!
Photo and DIY Courtesy of: pursuitofshoes.com
-
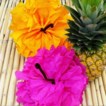
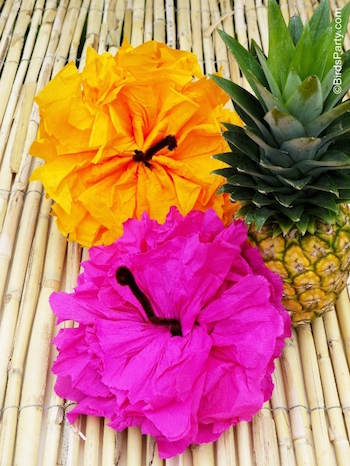
 Hibiscus flower poms
What you’ll need:
- Tissue paper
- Scissors
- Brown pipe cleaner
What you’ll do:
1. Take eight sheets of tissue and stack them. Fold the tissue into 1 ½ inch wide, accordion folds. Make sure you crease the tissue with each fold.
2. Twist the brown pipe cleaner around the center of the folded tissue paper.
3. Cut the end of the tissue into round or pointed ends.
4. Carefully, pull each layer one at a time away from the center and tah-dah you've got cute little decorations!
Photo & DIY Courtesy of: birdsparty.com


POLL
If you owned your own makeup brand, which product would you create first?

LOVE THIS
Your spring style guide
just dropped...🌷
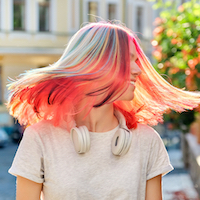
Spring is absolutely, well, springing...and it’s time for your style to follow suit. Fun In by Sun In temporary hair dye + bold kicks from Skechers = the cheat code for a head-to-toe serve. Find alll the inspo here.
FREE STUFF
LET THE GAMES BEGIN
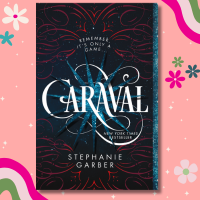
Scarlett has long dreamed of seeing Caraval, a faraway magical competition. But when her sister Tella is kidnapped by the mastermind behind the show, Scarlett discovers she won’t just be watching the game—she’ll be playing to save her sibling. Enter to win here!