become a contributor


LIFE
School
How to set up your planner for a successful school year

With the start of a new school year comes a lot of things—worries, new shoes, fresh gel pens—you know the vibe. But our fave part of a new school year? Definitely a fresh new planner. Blank pages just waiting to be written on, day trips with the squad just waiting to be penciled in...we love what a new planner (and school year) brings. Not sure where to start? We've got all the deets on how to set up your planner for a successful school year.
Step #1: Materials
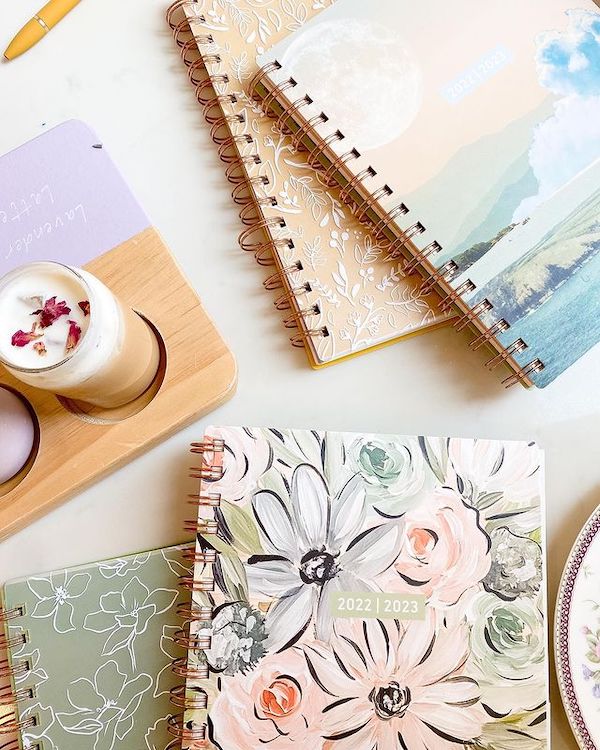
First things first: You'll need a planner. We heart the selection on waavmakers.com—they've got tons of cute patterns and color combos. Not to mention that their planners are literally *made* for busy students (and they come with the cutest planning stickers!). Then, grab your writing utensils. Whether you're a classic black-ink girlie or need a minute to snag every shade of felt tip you can find, setting up your planner with your fave pens is a v. important step in your planning journey.
Step #2: Goal setting
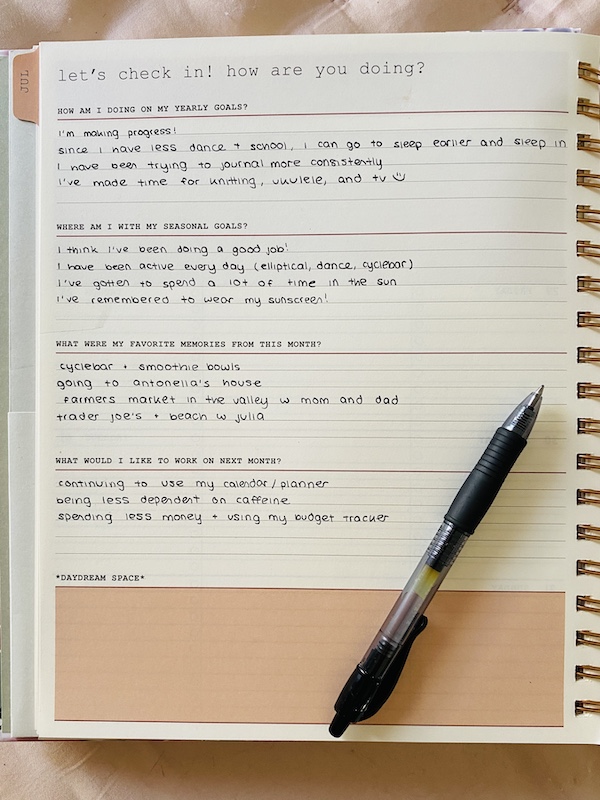
One of the best parts about a planner is that it's a journal/calendar hybrid. Focusing on the journaling aspect, take some time to reflect on your summer and the school year ahead. If you set big-picture goals at an earlier point in the year, how are you keeping up with those? What are you looking forward to heading into a new month? A new school year? This deep thinking is a great exercise to get you feeling grounded before the planning starts.
Step #3: Overview

This step requires a bit of outside resourcing. At the start of each year, most schools will release a calendar of things to come (think: dates for all of your breaks, parent-teacher conferences and other campus events). If you're feeling ambitious, you can mark out all of the dates from now until June. If that seems overwhelming, do a few months at a time—just be sure to keep track of that cal so you can add more dates throughout the year.
Step #4: Things to look forward to

Don't forget to add fun dates, too! This includes birthdays, vacays and Taylor Swift concerts (just manifest with us, OK?). Adding in these special dates—and decorating their spots on the calendar with cute doodles and stickers—will bring you joy every time you open your planner. As a fun challenge, try to find at least one day every month to look forward to.
Step #5: Keep it up

Now that you've got all your big-picture dates and V.I.D.s (very important dates) written in, it's up to you to continue adding things to your calendar. Make it a daily ritual: Add your daily and weekly tasks, homework and tests and any other things that may come up (soccer games, doctor appointments, stuff like that). Hopefully, an aesthetic and organized layout will make your planning habit more of a hobby and less of a chore. Bc sorting out your life? That's self-care, bb!
We think you'll love these other GL posts:
📌 How to host the cutest spa day sleepover
📌 The ultimate back-to-school bucket list for every grade
📌 What you should read next, based on your favorite book
We want to see your aesthetic planner layouts.
Tag us on Instagram @girlslifemag for a chance to be featured, and don't forget to check out WAAV for your cutest planner ever!
Slider and top image: @waavmakers
GIF via Giphy


POLL
There's a maaajor thunderstorm outside, but you can be found:

LOVE THIS
All your period probs, solved 💕

So maybe your monthly flow isn’t, um, go with the flow. Never fear! Take our quiz to pair up with your perfect Pamprin and end the menstrual madness.
FREE STUFF