become a contributor


STYLE
Beauty
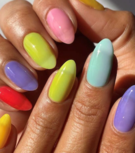
We Tried It: DIY ombre nails

Dying
for a way to freshen up your back-to-school mani? Look no further than
your collection of eerily similar nail polish colors!
So
what’s the deal with ombre nails? Well, let me just say that they have
been all the rage this summer, and I’m sure will stay trendy by the time
you hit the halls. Simply put, each nail is painted a different shade
of the same color from dark to light.
Start
by finding five nail polish colors in the same color family. For
example, you could find five different shades of pink, blue, or any
other color. Once you find these five hues, arrange them from dark to
light. If you can’t find five different shades, you could try mixing
colors using a cotton swab and blending the shades on a piece of wax
paper. Mixing a lighter shade with a few drops from a darker hue will
fill any color gaps.
Once
you have your colors organized, decide whether you want your darkest
color on your pinky finger or on your thumb. Then, start painting! Paint
each nail one of the colors, but make sure you keep the color going
from dark to light, or light to dark, depending on what you decided.
If
you want to blend them a little more, you could try taking a clear
polish with sparkles in it (from the same color family, of course!) and
applying it over each of your nails. The colors will flow a little
better with this top coat to set them all.
(Psst:
Ombre nails are an easy way to use all those polishes you bought but
didn’t realize were way too similar.) Try it out for your first day of
school and let us know what you think!
Love this post? You'll heart these, too!
» Vacay in your future? Pack right!
» 100 so-cute summer outfits. New ways to wear the clothes you've already got
» Get your glow on! GL’s ah-mazing guide to summer skin
WIN IT! Enter now to snag a year's supply of jeans!
Want more ways to get GL? Like us on Facebook or follow us on Twitter!
POSTED IN trend, Beauty, nails, back-to-school beauty, fall, diy mani


POLL
College decision szn is upon us! In your dreams, you'd love to attend a school...

LOVE THIS
📚🌸Fill your shelves with these spectacular spring reads 🌸📚
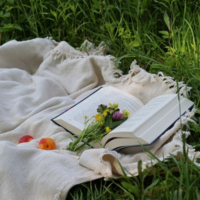
Your perfect picnic plus-one? A radiant read, ofc. Enter to win them all here!
FREE STUFF
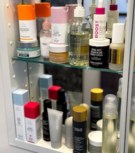
WIN! Fun In by Sun In 🎨
Give your tresses a (temporary) rainbow-rific refresh with Fun In by Sun In. Enter here to win!