become a contributor


STYLE
Beauty
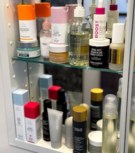
How To: Splash a beachy scene on your tips


NailTek for base and cover coat
Sally Hansen Insta-Dri in Whirlwind White (Note: I used this as a background color, but you can use a different color)
Sally Hansen Insta-Dri in Mint Spring
Sally Hansen Insta-Dri in Co-Bolt Blue
Cosmetic sponges cut to the shape of your thumbnail
Thin paintbrush or nail art pen in preferred colors
Instructions


7. Clean up any messes, cover with a clear coat and voilà!
Love this post? You’ll heart these, too!
» Hot how-tos and the latest trends for cheap? Subscribe to The Look newsletter for free!
» Be a Beauty Spy babe! Click here for the deets
» What kind of shoe are you? Take the quiz!
WIN BIG! Score a sizzlin' summer wardrobe from Mambo Australia
Want more ways to get GL? Like us on Facebook or follow us on Twitter, Pinterest and Tumblr!


POLL
College decision szn is upon us! In your dreams, you'd love to attend a school...

LOVE THIS
Say hello to our 2024 Beauty Awards Winners 💄

We’re presenting our beauty MVPs of this year so your face card... and hair card...and mani card...never, ever declines again. Check out our must-haves HERE!
FREE STUFF
MARRIAGE, MATCHMAKING AND MIX-UPS
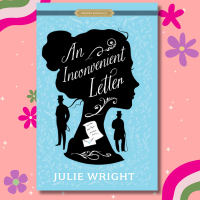
Imagine having your secret love letters discovered by the wrong person—talk about a swoon-worthy slip-up! Pride and Prejudice fans will heart this will-they-won’t-they romance set in the lovely London countryside. Enter to win here!